The world of generative AI has opened gates for something groundbreaking in creative expression, which transforms a text prompt into vivid and detailed work of art. Complex algorithms close the gap between human language and visual imagination. In this post let's disscuss about of the algorithm. Stable Diffusion: a generative model that translates textual descriptions into coherent images using a combination of deep learning techniques.
How Do Text-to-Image Work?
Diffusion models are behind this process: generating images using text via a machine learning approach that sounds fascinating in itself. It works as follows in Stable Diffusion:
Starting with Noise: The model starts from a random noise pattern, essentially a plain blank canvas of static.
Iterative Refinement: It iteratively
denoises
the picture step-by-step into a coherent image matching the text prompt given.Language understanding-guided: With the use of classifier-free guidance, Stable Diffusion measures how well in each generation the image matches the prompt. Fidelity to the prompt is desired together with creativity to ensure the outputs are both visually striking and semantically rich.
It can couple this iterative refinement process with deep learning to generate imagery ranging from photorealistic scenes to purely abstract art.
What is Stable Diffusion?
Stable Diffusion is based on a diffusion modeling process that begins with pure noise and iteratively refines it into a meaningful image, guided by input text. The technique used here is called classifier-free guidance, where the model continues to evaluate the text alongside the generated image at each iteration to fit the prompt. Hugging Face's Diffusers library makes the process even smoother and intuitive enough to develop high-quality images within lines of code. For today, we're going to break down the process of setting up a text-to-image generator using Stable Diffusion: the nitty-gritty details that make this creative tech so accessible.
Setting Up the Environment
To start, make sure you have Python installed. Then, install the necessary libraries:
bash
pip install torch transformers diffusers
Loading Stable Diffusion with Diffusers
Once you have the required packages, you can set up Stable Diffusion using Diffusers. The following code initializes the model and creates an image based on a text prompt.
python
import torch
from diffusers import StableDiffusionPipeline

# Set up the model; use 'cuda' if a GPU is available, or 'cpu' otherwise
device = "cuda" if torch.cuda.is_available() else "cpu"

# Load the Stable Diffusion model from Hugging Face
pipeline = StableDiffusionPipeline.from_pretrained("CompVis/stable-diffusion-v1-4").to(device)
Generating an Image from Text
With the model loaded, we can define a simple function to generate an image based on a text prompt.
python
def generate_image(prompt, num_inference_steps=50, guidance_scale=7.5):
    # Generate an image using Stable Diffusion
    with torch.no_grad():
        image = pipeline(prompt, num_inference_steps=num_inference_steps, guidance_scale=guidance_scale).images[0]
    return image
Here’s a breakdown of the parameters:
- prompt: The text prompt that will guide the image generation.
- numinferencesteps: The number of denoising steps. Higher values often result in more detailed images but take longer.
- guidance_scale: Controls how closely the image follows the prompt. Higher values make the image more accurate to the prompt, while lower values yield more abstract results.
Running the Code
You can now generate an image from any text prompt you like. For example:
python
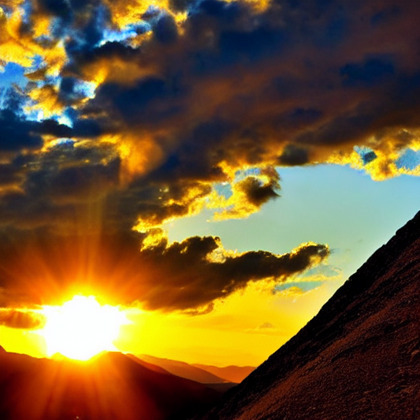
prompt = "A beautiful sunset over a mountain range with vibrant colors"
image = generate_image(prompt)
image  # Display the generated image
This code generates an image that matches the prompt and opens it for viewing. Try experimenting with different prompts to see the variety of images that Stable Diffusion can produce.
Enhancing Image Quality and Style
For more artistic or abstract results, adjust the parameters:
- Increase
num_inference_steps: This can make the image sharper and more detailed. - Vary the
guidance_scale: A higher scale yields images closer to the prompt, while a lower scale allows for more creative freedom.
Saving the Generated Image
To save the generated image, you can use the save method from the PIL library:
python
image.save("generated_image.png")
Example Prompts to Explore
Here are some interesting prompts to try:
A futuristic cityscape at night with neon lights
A peaceful forest in the autumn, with golden leaves falling
An abstract painting inspired by Van Gogh’s Starry Night
A fantasy castle surrounded by floating islands and waterfalls
Example Prompts that are tried
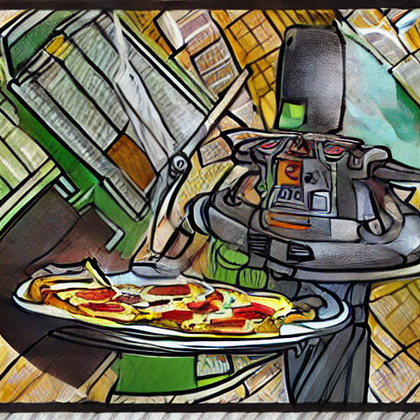
Here i have used different num_inference_steps andguidance_scale to show the difference
Ex.1:- numinferencesteps = 50 , guidance_scale =7.5

Ex.2:- numinferencesteps = 5 , guidance_scale =4

Conclusion
Using Stable Diffusion with Hugging Face’s Diffusers library makes it simple to create stunning images from text prompts, even if you’re new to machine learning. The flexibility of prompt design and parameter tuning lets you explore various artistic styles and themes with ease.
Give it a try, and you’ll be amazed by the creativity AI can unlock! Let me know if you’d like additional support on installation, usage, or enhancing your images further!


